
Of course I forgot to photograph the steps that I did to get this background...
First I applied a thin layer of Gesso to both pages. After that dried I applied white acrylic paint. I speed up the drying process by using a blow-dryer on high, warm air. It works great, minus blowing paper scraps all over my room. Once that dried I lathered on Mod-Podge and while it was still wet placed white tissue paper over it, bunching it up and flattening it in places to create the "veiny" design. When the Mod-Podge dried underneath the paper, I painted on a wash of pink paint.

No such thing as too many flowers!
I began cutting flowers (and a few bows and wedding rings I didn't use) from a bridal magazine. I cut out tons to fill the borders of the pages.

The paper under the journal pages is just to protect the pages underneath the ones I'm working on.
I arranged the flowers on the pages and Mod-Podged them down. While they were drying I worked on the foreground pieces... some skeletons!

I work on my bedroom floor, despite having a useful art desk...
I found a scrap piece of paper and applied Gesso to strengthen it. Once that dried I painted over it using white acrylic paint, tinted with brown watercolors for a less intense white.

No one rocks a fedora quite like this guy.
I drew a skeleton in the pose I wanted with a Sharpie ultra-fine tip pen on the paper I prepared above. I cut along the outside with scissors and used a swivel knife for the smaller sections. Next, I prepared another sheet of paper for a second skeleton. Again, I forgot to take pictures of the process, but it was basically the same as the first skeleton I made.
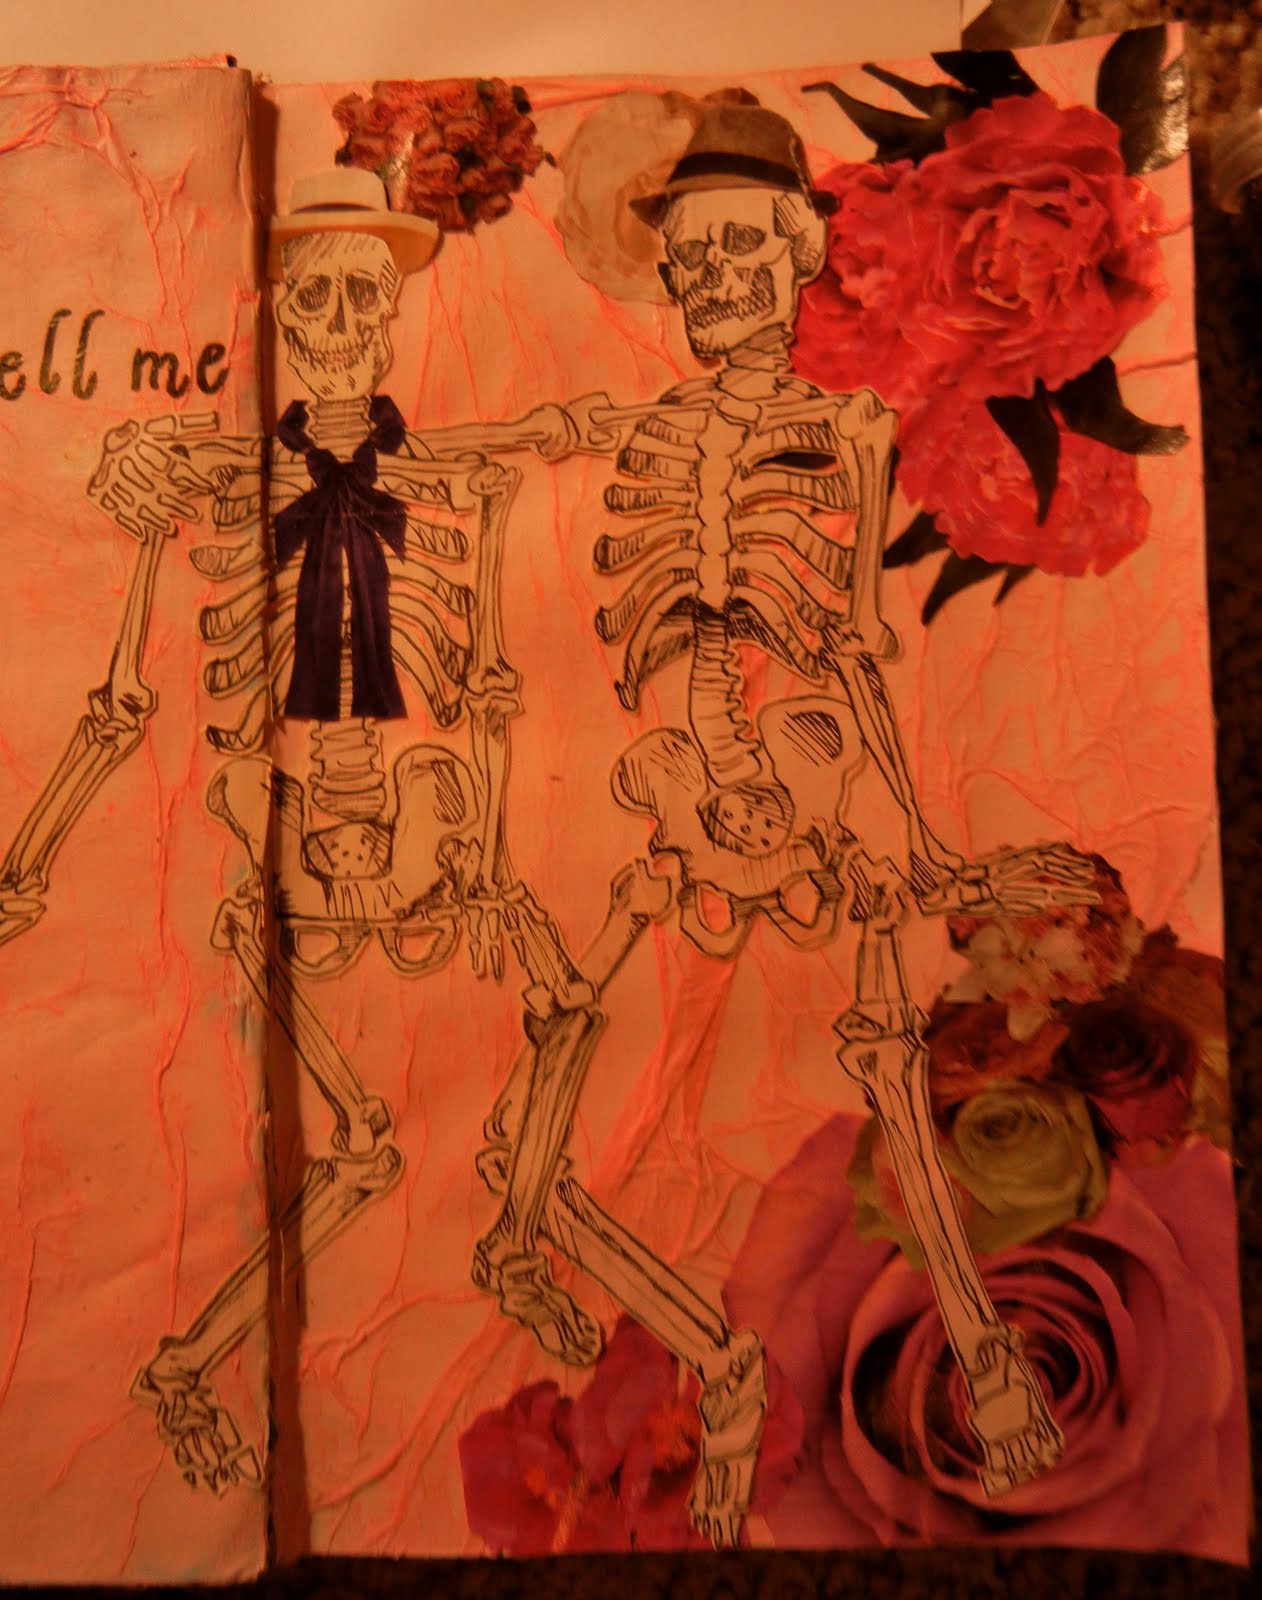
Skeletons need to be fashionable, too!
Once I had my skeletons ready to go, I glued them down using Mod-Podge. Since the skeleton on the left was on the crease of the page, I cut where I needed to and glued the separate pieces on either side of the crease, matched up.

Time to include some lovey-dovey words.
The other week I was looking for some free vintage stock and came across a cute postcard (I can't remeber the site I got it from, but I will post it as soon as I come across it again.) with a poem that read "Now tell me darling if you'll be/ Forever faithful, fond, and true,/ And think of love I bear for thee,/ The promises I've made to you". I loved the poem and wanted to incorporate it into my journal. I didn't know what I could do with it, but then I thought it would go perfectly with the theme of this page. I found an old brown marker and wrote the poem in the negative space. Some of the letters overlapped the skeleton which bothered me a little, but oh well!

I need to work on my writing lol

Next time I'm testing whatever ink and sealer I'm using before I use it in my journal.
I decided instead of using Mod-Podge as a sealer over the pages, I would use some polyurethane I have had for a while. Not a good idea. As soon as the polyurethane touched the marker ink it smeared. I don't know if the ink wasn't dry or what, but I immediately wiped of the excess, which also took off the ink from the skeleton. After the polyurethane dried on the rest of the pages I went over the places that needed redone. I then covered the entire image with a layer of Mod-Podge with no trouble.

Fin!
No comments:
Post a Comment